

AWS Free Tier: Account Creation Steps.


Table of contents

No headings in the article.
Amazon Web Services (AWS) offers comprehensive free services when you register for their free tier account. The idea behind AWS free tier account is, new users can get familiar with AWS without investing a lot of money. This provides an easy way to understand and get hands-on with AWS environment with practical knowledge.
With AWS free tier account, you get 12-months free access to a vast array of AWS services. These services include EC2 (Elastic Compute Cloud), RDS (Relational Databases), ELB (Elastic Load Balancer), AWS Lambda, AWS SNS (Simple Notification Service), AWS DynamoDB and many more. Although there are limitations on how you can use these services. For example, you get 750 hours of t2 micro ec2 instance. If you use instance other than t2.micro then there will be charges.
Despite such limits, AWS free tier account is more than enough to start your journey with AWS and get hands-on with their most-used services. I will recommend you to take advantage of this and start your free tier account.
- Click on below link to create aws account.
https://portal.aws.amazon.com/billing/signup?refid=09863622-0e2a-4080-9bba-12d378e294ba&redirect_urREGISTER FOR AWS FREE-TIER ACCOUNT
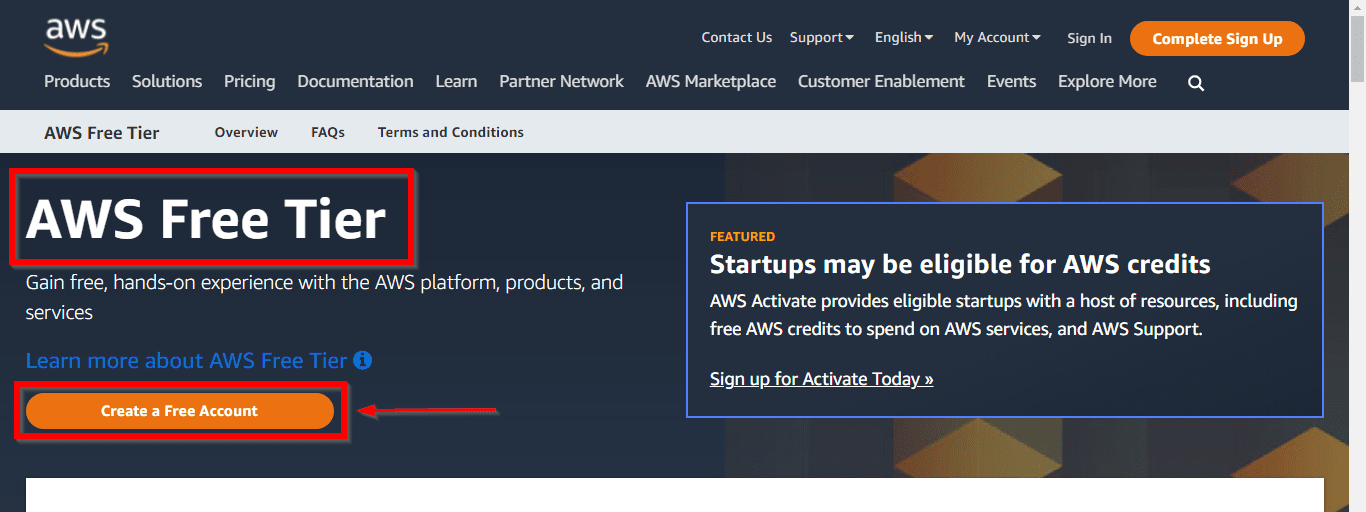
1. First Open your web browser and navigate to AWS Free Tier Page. On middle click of Create a Free Account
Issue the details which you want to use to log in to your AWS account and click on Continue
• Email address: Provide the mail id which hasn’t been registered yet with Amazon AWS.
• Password: Type your password.
• Confirm password: Authenticate the password.
• AWS Account name: Choose a name for your account. You can change this name in your account settings after you sign up.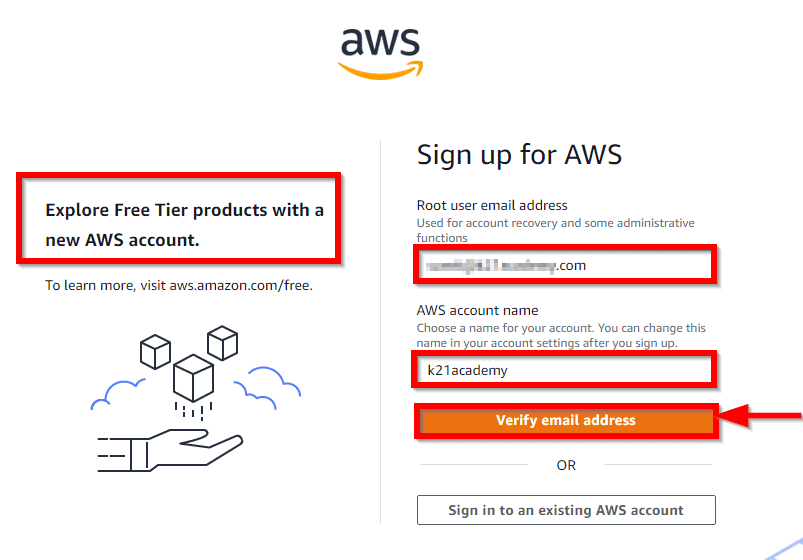
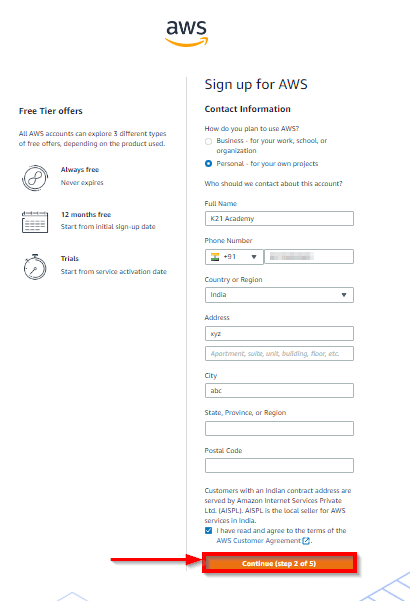
Contact Information
Select your AWS type (Profesional/ Personal) Fill in the correct information to validate your account if you’re going to create personal use then click on “Personal Account” else use “Company Account”, Accepts the Terms and
condition and then click on Create Account and ContinueNote: Make sure to provide proper contact details and mobile number to get the Verification code from AWS.
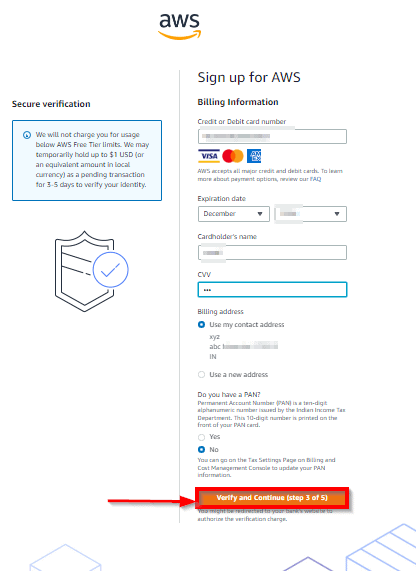
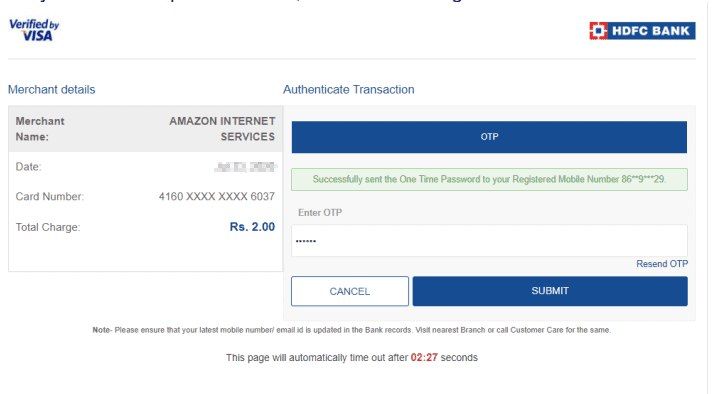
Payment and PAN information: In this step, you must fill in your credit card /Debit Card info and billing address and click on Secure Submit.
- Please note aws currently supports only Visa/Master card only. in case we may get error as "Payment method couldn't be completed" then check with bank to enable the international transaction limit in your internet banking
In this step, it will take you to the payment gateway to validate your payment information and for your credit card verification, Amazon will charge the minimum price based on Country. Here I have provided India, so Amazon charged 2 INR.
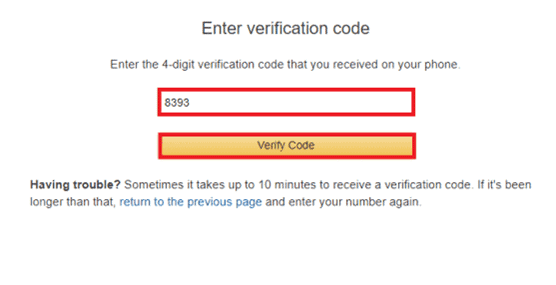
Phone verification: Here you will be taken to an identity verification page that will already have your phone number, so you just have to select either “Text message or Voice call” Provide a valid phone number, Solve the captcha, and then click on Send SMS or Call Me Now(depending upon your selection).

After clicking on Send SMS or Call me Now, you will immediately receive a call or SMS from Amazon, for verification code, Enter your code then click on Verify Code.
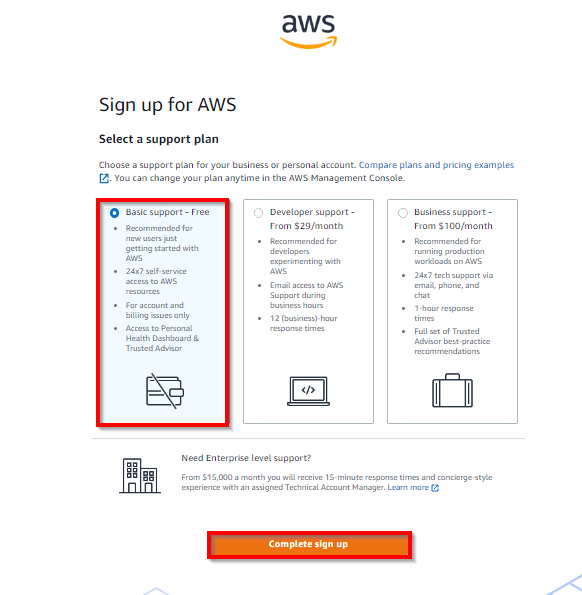
8. Support plan: AWS support offers a selection of plans to meet your business needs.
Select your suitable plan then click continue.Note: All customers receive free basic support.
9. Registration Confirmation page.
Once you completed all the above steps and processes. You’ll get the confirmation page as below. Now your account will be processed for activation. It may take somewhere between 30 minutes to 1 hour for you to receive an email confirmation that your Amazon Cloud Services account has been activated.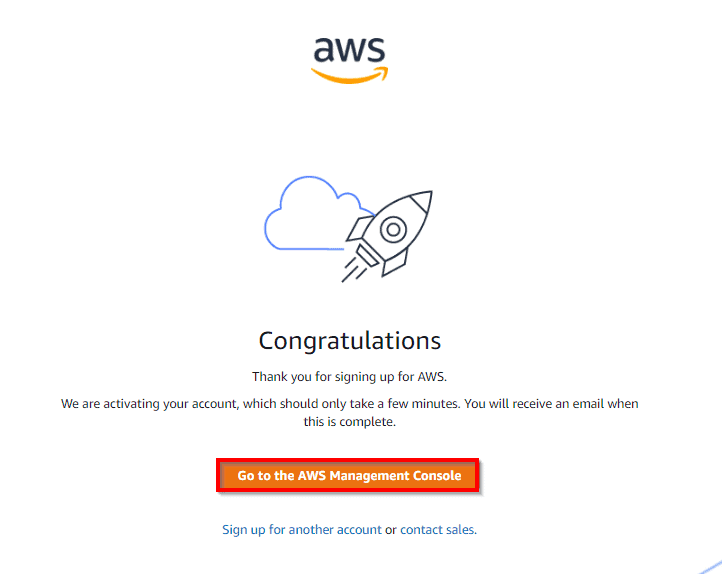
In this Blog, we have successfully created the AWS Free Tier Account.